Photo Gallery Page 1
| Pg. 1 | Pg. 2 | Pg. 3 | Pg. 4 | Pg. 5 |
|
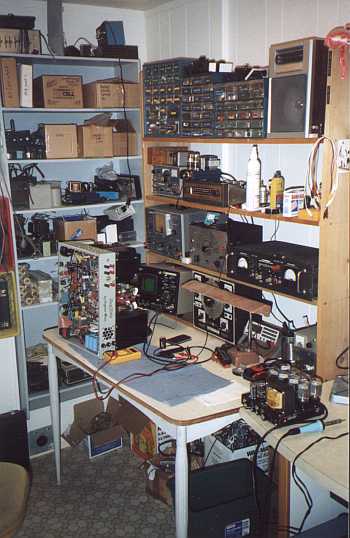
Here's a peek into the toob geek's lair, where most of this mad
science takes place. Dogzilla's on the bench (again) for some tweak or
other, and on the little table to the right you can see the "Maniac
Midget" experimental guitar amp. There's way more you don't see,
mostly boxes of "treasures" (junk to anyone else) and other
precious gizmachis, but this is where most of the action takes place.
I have to apologize, it's usually a lot messier, I just happened to catch it on a bad day... |
Homebrew Hi-Fi Stuff
Click on any of the banners to go straight to that article


Front view of the RA-100. Neo-retro knobs and an industrial-strength open-frame chassis give it "that 60's look." |
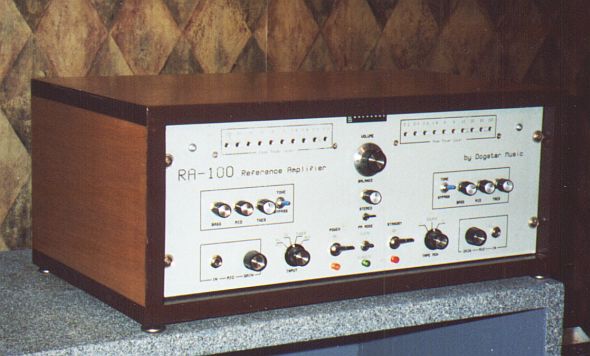
Four years after building the amp, I finally put a case on it. It's handmade from solid local birch, stained with a light oak stain and finished in polyurethane. |
|
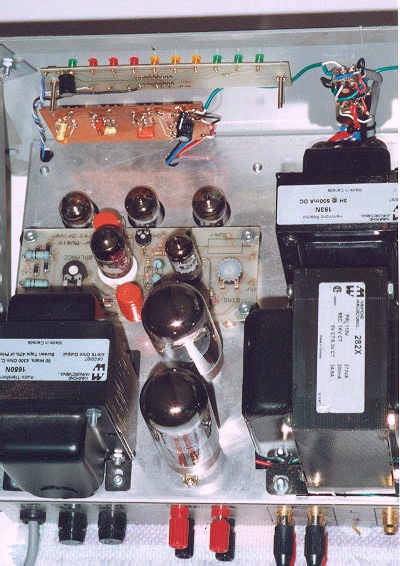
View of the right channel, top-side of chassis. Output transformer is visible at lower left, power transformer and filter choke along the right. In front of the 6L6GC output tubes (the large ones) you see the driver PCB module. The pre-amp PCB is recessed under the chassis, with the tubes protruding. On the front panel are the Tone Card and the power meter card. Volume and pan pots are visible at the upper right corner of the image. The tops of the two 0B2 gas tubes are just barely visible behind the filter choke. Left channel layout is a mirror- image of the right channel. |
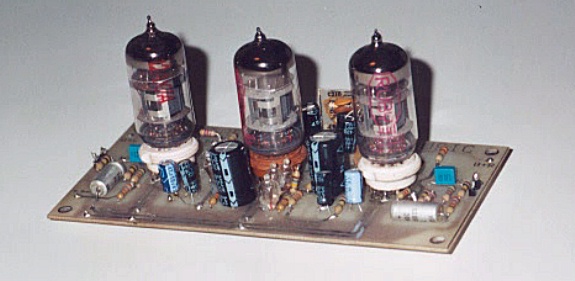
Close-up of the right-channel preamplifier board. The section on the right side of the board is the phono/mic preamp (note the little outrigger board hiding behind the tubes) and the left section is the tone control and line amplifier. The left-channel board is identical, except that the two sections are "mirrored" for a better layout. |

A stand-alone magnetic phono preamplifier. This is basically the phono portion of the RA-100 design in its own enclosure and power supply, using point-to-point wiring just to prove it works. Sound samples from an actual record played through this preamp are available here. |
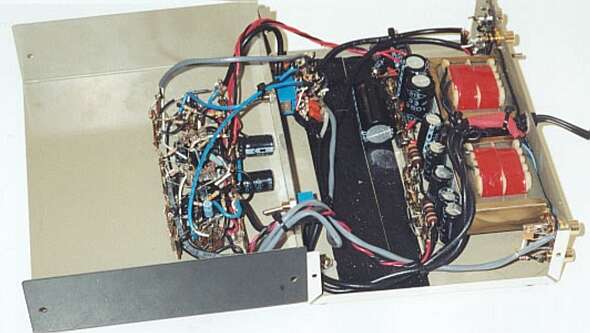
Here it is folded open. Despite the rather messy look of the point-to-point wiring approach (compare with the PCB version above), the unit is stable and eminently functional. |
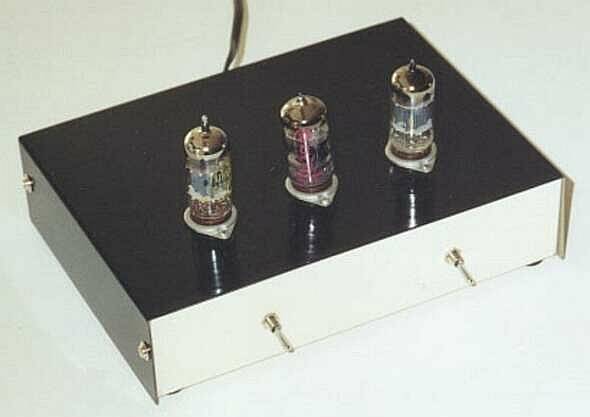
A minimalist one-watt SET (Single-Ended Triode) amplifier built onto an abandoned aluminum inverter case. The single dual-triode tube combines a triode voltage amp (preamp) and power triode in a single envelope. Sound samples comparing original source signal and amplifier output available for this project also. |
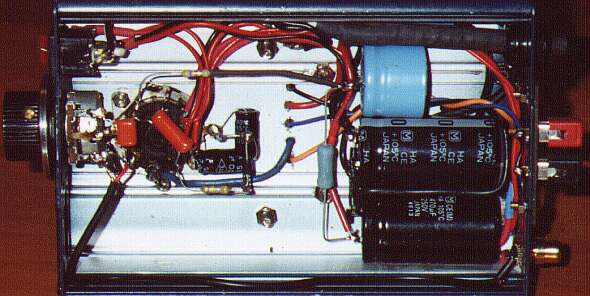
There's not much under the hood on this little project. "Madman" Muntz would have been proud! |
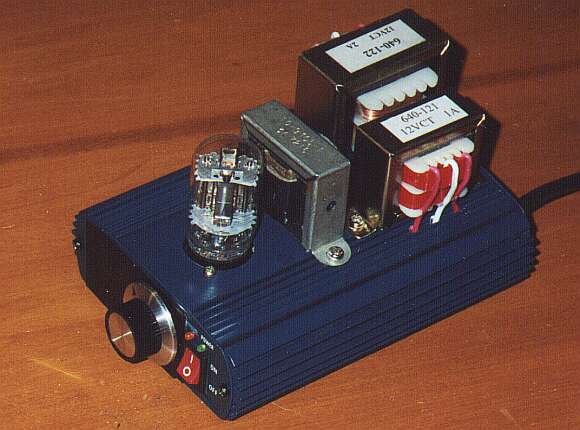
MiniBlok II
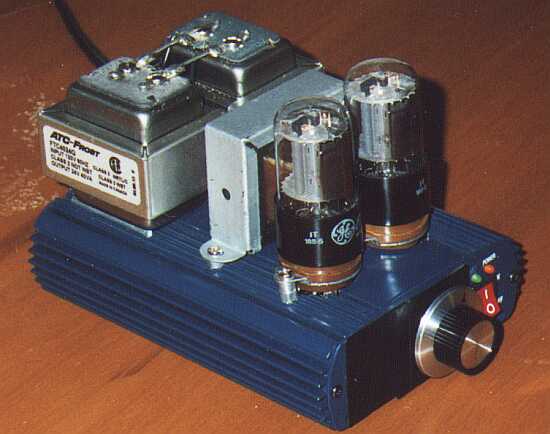
Here's a push-pull version of the same design idea. I built this so I could do comparisons between single-ended and push-pull designs using similar components. This is now the amp for my shop radio, in conjuction with a vintage Eico FM tuner. |
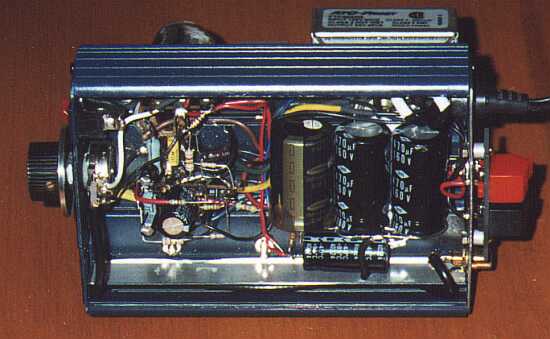
Needless to say, the push-pull version will have more "stuff" under the hood. It's still quite do-able, however, and makes an ideal intermediate tube experimenter's project. |
 |
 |
HOME | NEXT |
Or jump to:
| Pg. 1 | Pg. 2 | Pg. 3 | Pg. 4 | Pg. 5 |
Tube site Home
Enough of this, take me to Fred's artsy side!